When the
WAVLINK Wi-Fi extender is running in gateway mode, its DHCP server assigns LAN
IP addresses to client devices connected to the WAVLINK Wi-Fi extender. If the
LAN IP of your primary router is 192.168.0.1, the DHCP range is 192.168.0.100
to 192.168.0.200, and the LAN IP of the WAVLINK extender is 192.168.10.1, DHCP
ranges from 192.168.10.100 to 192.168.10.200 . In this case, the network
segment of the WAVLINK extender is different from that of your main router.
If your
camera is connected to the WAVLINK extender with the IP 192.168.10.101, while
the IP of your host connected to your main router is 192.168.0.103, this will
cause your host to be unable to access the camera.
If your
printer is hooked up your WAVLINK extender with the IP 192.168.10.125, while
the IP of your computer connected to your main router is 192.168.0.116, this
will cause your printer to not respond to a print command issued on your computer.
There
might be a workaround is to set up the WAVLINK extender as an access point or
wireless bridge at the back end of your primary router or modem, rather than
having the WAVLINK extender act as a gateway device to assign IP addresses to
terminal devices,
so that
your primary router or modem manage and control the devices connected to
WAVLINK extender.
The
instruction below describes how to set the network segment of the WAVLINK Wi-Fi
range extender to be the same as that of the main router.
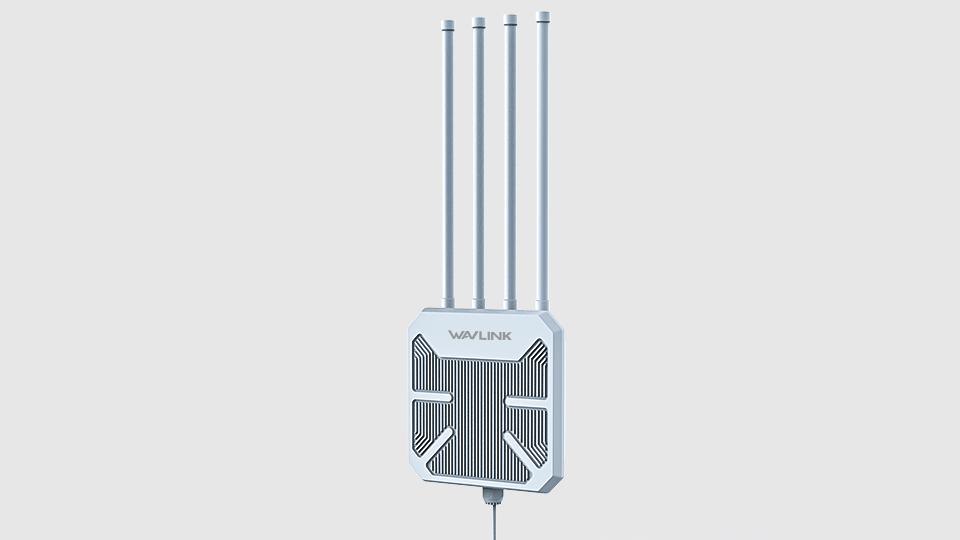
Note: Here
we take the WAVLINK outdoor AP WL-WN570HA1 as demonstration.
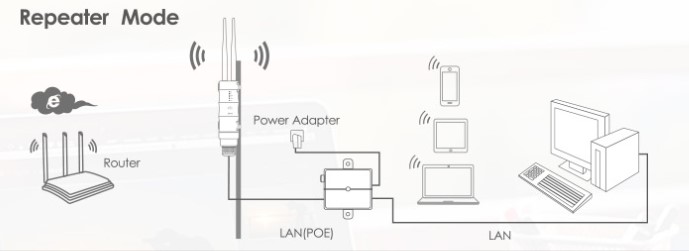
Repeater+Bridge
mode
1.
Connect the POE IN port of the unit to the POE port of the converter with a Ethernet
cable
2. Plug
the power adapter to a socket.
3. Power
on the unit.
Repeater
mode installation steps:
1. After
resetting the extender, wait a few minutes, please open WLAN on your mobile
phone, then find the signal WAVLINK- N or AC and connect it.
2. Open web browser and type “ 192.168.10.1” or “ap.setup” in the browser
address box and the login screen will appear.
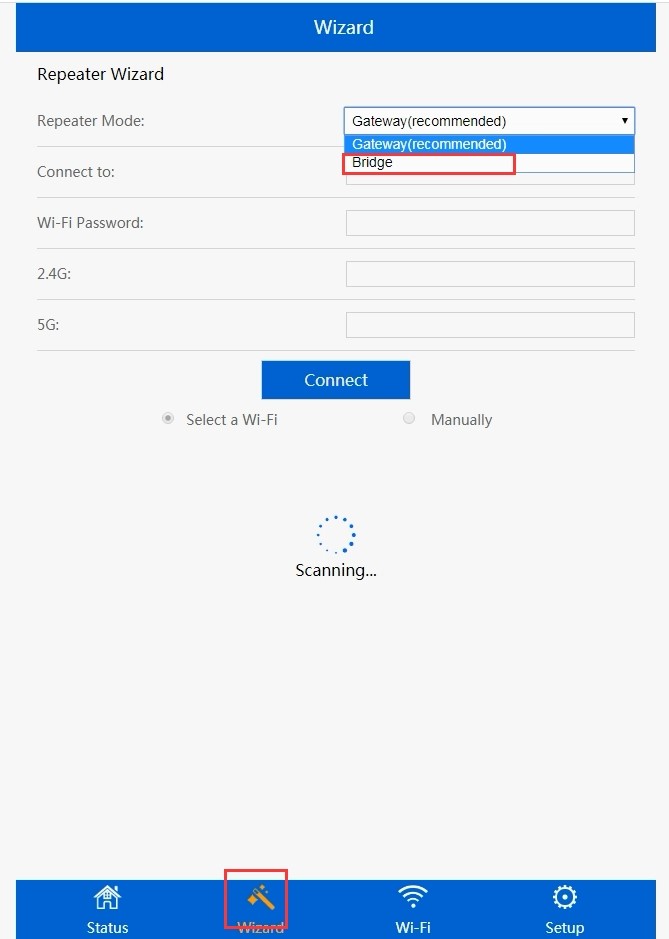
3. Enter the default login password "admin", choose the right
language, click "Login".
4. After logging in, you will see the web page: choose Bridge in repeater mode
wizard instead of gateway.. Then select a wireless network that you want to
connect.
5. After
you selected a wireless network. You will see a default Repeater ssid, select
it and change the ssid name to avoid repetition. And the password must be set
to the same as the Wi-Fi you connected.
If you
have an extra Ethernet cable, it is recommended that you set WAVLINK AP to AP
mode, in this way the signal loss is much less than in repeater mode.
it
requires connecting the WAVLINK AP to you primary router via an Ethernet cable
in AP mode.
AP mode
Hardware
connections:
1.
Connect the POE IN port of the unit to the POE port of the converter with a Ethernet
cable
2.
Connect the LAN/DATA IN port to the LAN port of your router/modem.
3. Plug
the power adapter to a socket.
4. Power
on the unit.

AP mode
installation steps:
1. Find
the WAVLINK Wi-Fi and connect it on your smart phone WLAN.
2. Enter
the URL “192.168.10.1” or “http://waplogin.link” in a web browser address bar
and search.
3. Enter
the default password "admin" on the showing login screen.
4. After
logging in, please click the “AP”, then complete the settings such as SSID and Wi-Fi
password. Click the “Apply”.
5.
Return back to the WLAN and reconnect to the Wi-Fi. Then the internet will
work.
Get the Scoop First
Subscribe to our official website to receive exclusive first-hand news and stay up-to-date on our new product releases and promotions!