Here the
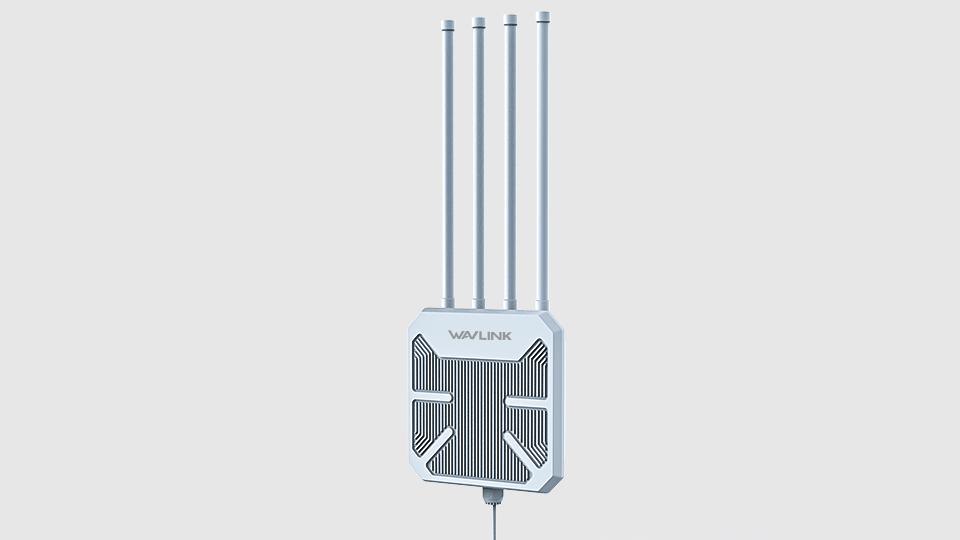
article applies to these models of WAVLINK USB Wi-Fi adapter: WL-WN681A1, WL-WN691A1, WL-WN681AE, WL-WN691AE, WL-WN683N2P,
WL-WN688A2, WL-WN688U3/WL-WN688U3D, WL-WN690A5/WL-WN690A5D, WL-WN692A3,
WL-WN693A5.
These
models are base on REALTEK WLAN controller.
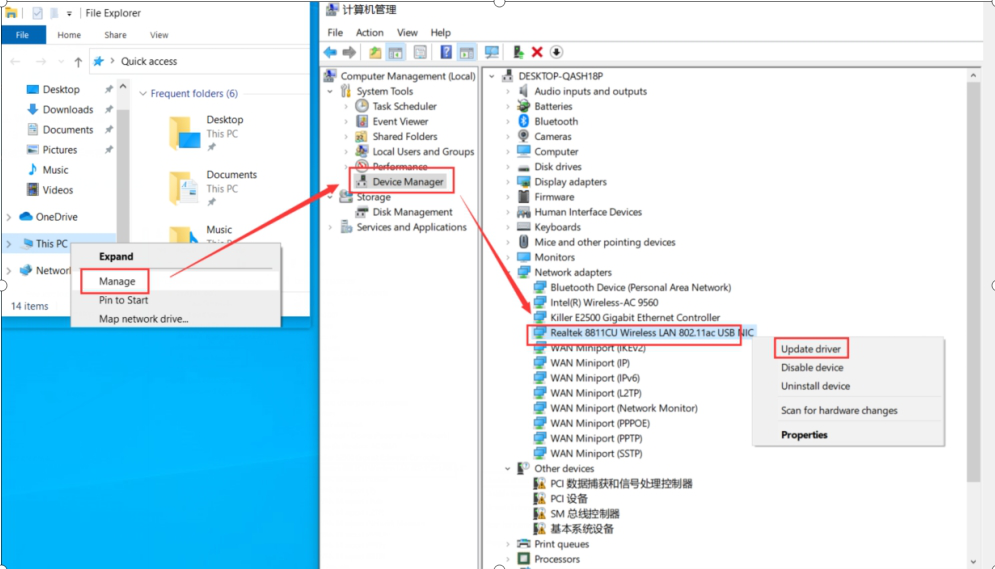
Since
the Windows 10 and Windows 11 have REALTEK WLAN driver built in, the WAVLINK
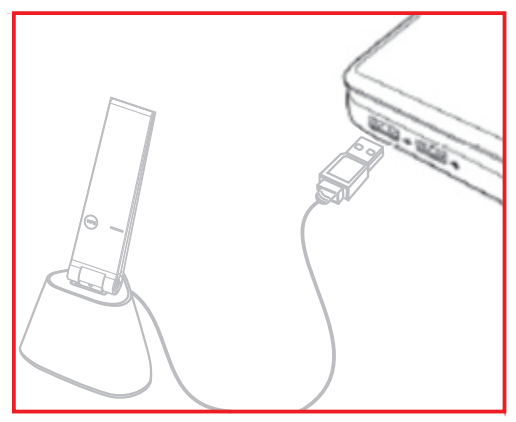
USB Wi-Fi adapters is generally plug-and-play for Windows 10 or Windows 11
computers. Once the WAVLINK USB Wi-Fi adapter is connected to a Windows 10 or
Windows11 PC, please navigate to the Network adapters in the Device
Manager to check whether the WAVLINK USB Wi-Fi is detected and recognized
as the image below shows.
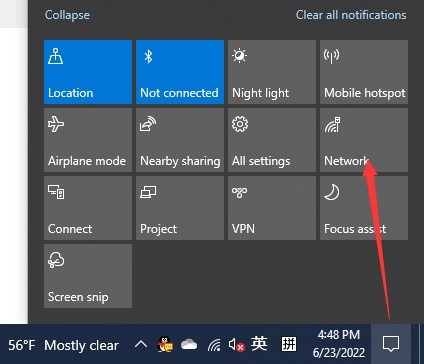
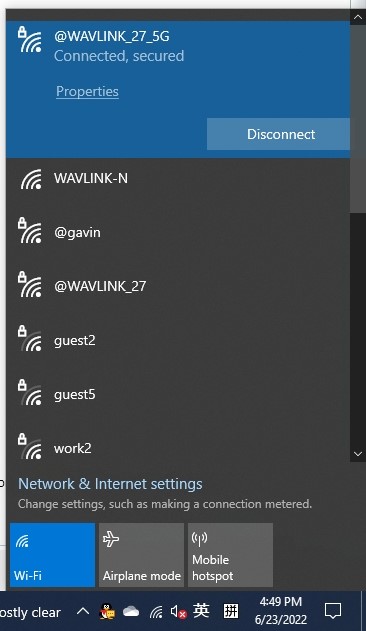
And
please open the Wi-Fi list to confirm whether you can join a specified Wi-Fi
via your WAVLINK USB Wi-Fi adapter.
If your WAVLINK USB Wi-Fi adapter is unable to be detected properly, please refer to the steps below to install its driver.
1. Please download and install the REALTEK driver available here:
https://www.realtek.com/en/component/zoo/category/rtl8812bu-softwarehttps://www.realtek.com/en/component/zoo/category/rtl8812bu-software
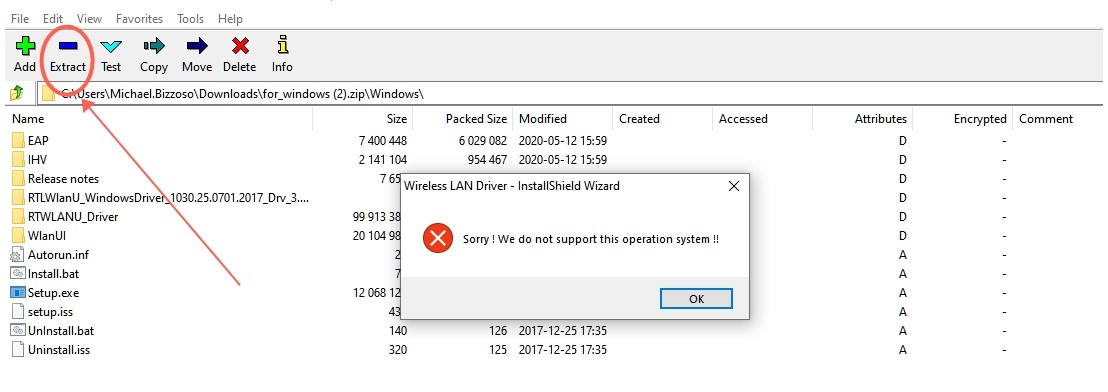
2. Since the original driver package is a compressed file, please extract the source file to the computer desktop before executing the setup.exe driver installation utility.
3. Open the extracted source file and double-click "Setup.exe" to execute the driver installer
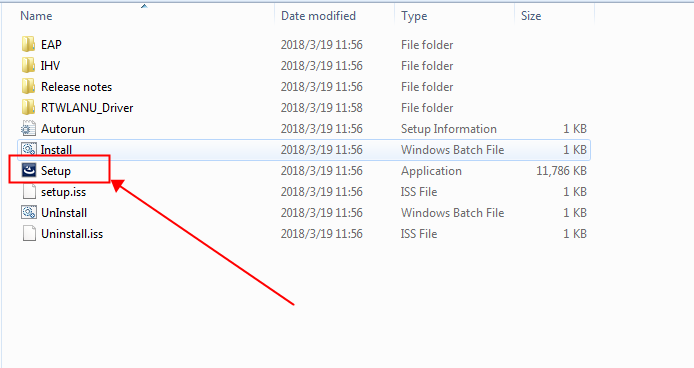
4. Install the driver by following the driver installer wizard.
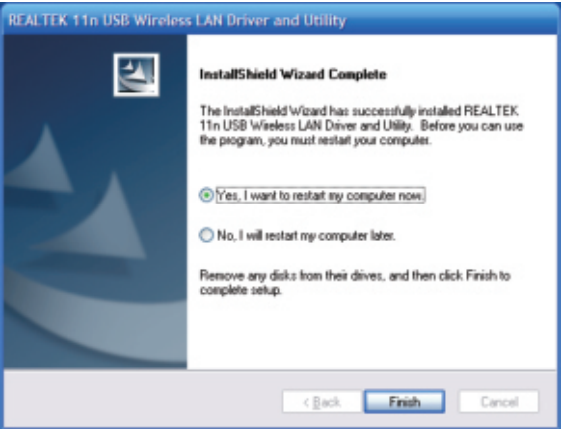
5. The installer will automatically install the program. Please select “Yes, I want to install my computer now” and click on “Finish” to reboot your computer.
6. With the computer now turned on, please plug your WAVLINK USB Wi-Fi adapter into your computer.
Get the Scoop First
Subscribe to our official website to receive exclusive first-hand news and stay up-to-date on our new product releases and promotions!